
The Knock Out® Story
Rose Breeder, Bill Radler, has revolutionized the way we think of roses. With the creation of The Knock Out® Rose, many say that he single-handedly brought rose genetics from the 20th Century into the 21st Century.
The Knock Out® Rose, Radler’s first commercial success and a 2000 AARS winner, has broken all records for sales of a new rose. Today The Knock Out® Rose is the most widely sold rose in North America.
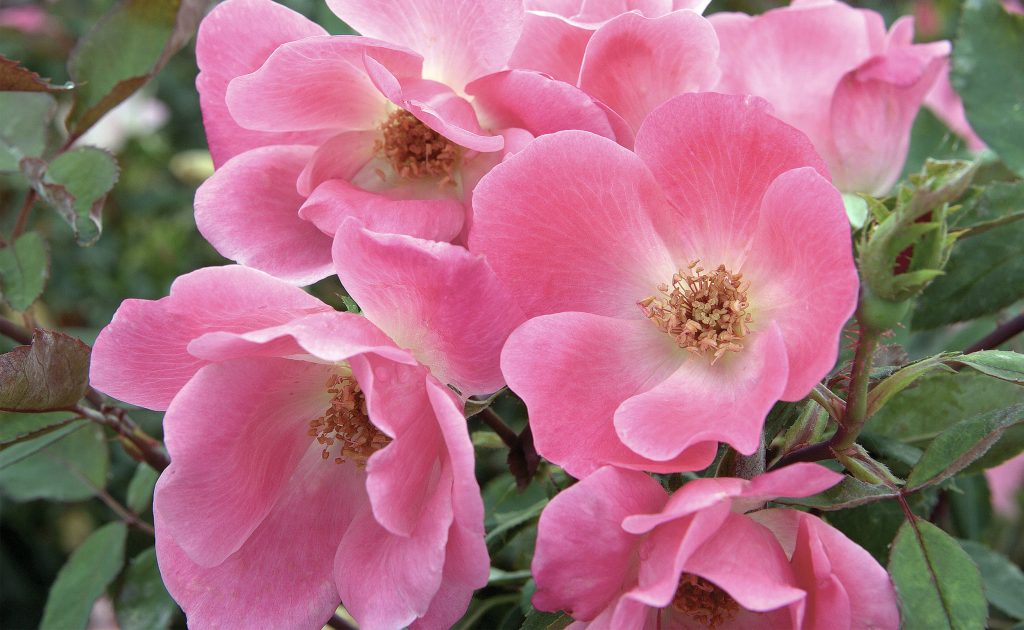
The Knock Out® Family of Roses are easy to grow and do not require special care. They are the most disease resistant rose on the market. They have stunning flower power with a generous bloom cycle (about every 5-6 weeks) that will continue until the first hard frost. All of the Knock Out® Roses are self-cleaning so there is no need to deadhead.
The Knock Out® Family of Roses are winter hardy to USDA Zone 5 and heat tolerant throughout the entire U.S. They thrive in almost every area of the country. In the coldest regions, they will need winter protection.
If unpruned, The Knock Out® Family of Roses can easily grow to be more than 3-4′ wide x 3-4′ tall. Periodic trims will keep them maintained at a smaller size. A once a year cut (to about 12-18″ above the ground) in early spring (after the last hard frost) is also recommended for maximum performance.
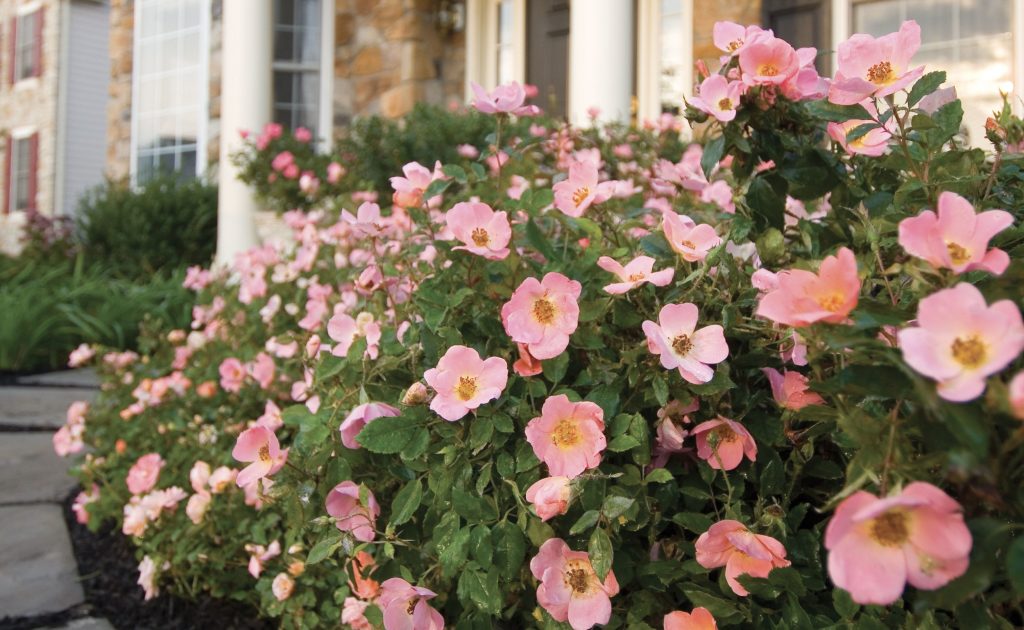
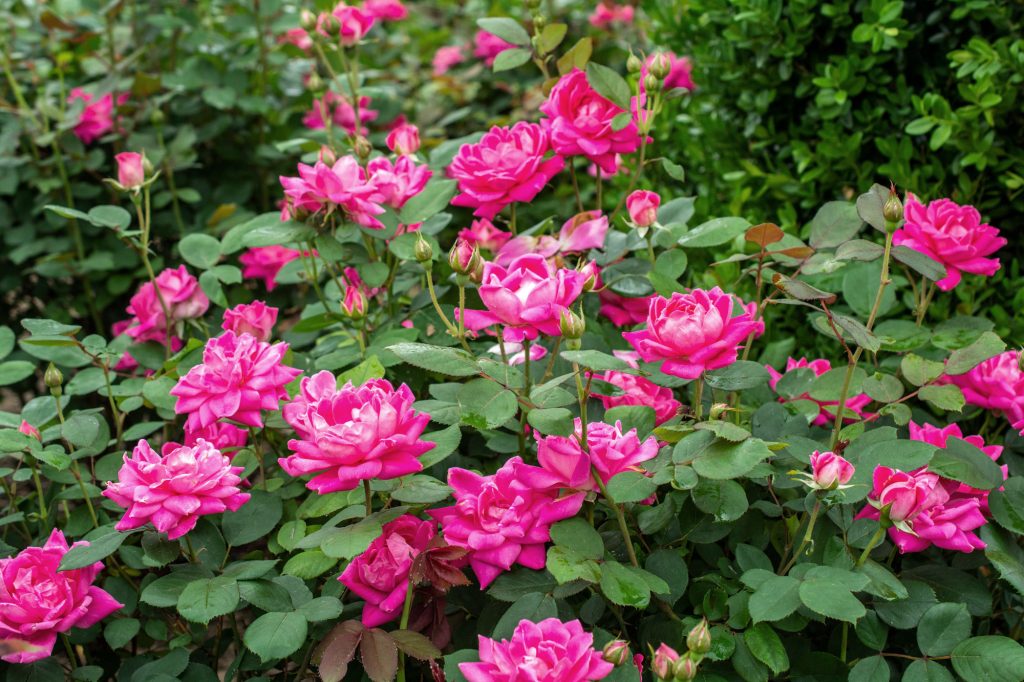
The Knock Out® Family of Roses can fit into any landscape. Plant them individually among shrubs, annuals and perennials in mixed beds and borders. Plant them in large groups to create a colorful hedge. Plant them along a foundation to provide a bright border. Want some more ideas? Check out our Knock Out® Family photo gallery to get inspired.


How to plant a Knock Out® Rose
Step 1. Dig the hole
Dig a hole that is twice as wide and deep as the container. Incorporate organic material such as manure, shredded leaves or peat moss (potting soil can also be used) into the existing soil making sure that the hole is still deep enough.
Step 2. Remove the rose from the container
If the soil in the container looks very dry, be sure to water it well before planting. Remove the rose from the container and prune any canes that are broken, injured or are thinner than a pencil. Be sure to loosen the roots if they are thick and root bound.
Step 3. Planting
Place the rose in the center of the hole making sure that the bud union (the knobby part of the stem base) is at the correct level. In zones 6-10, the bud union should be about 1″ above the soil surface. In zones 5 and under, it’s a good idea to bury the bud union 1″ or so under the soil surface.
Step 4. Back Fill
Back fill hole with soil, firming into place, adding more soil as needed.
Step 5. Watering and Mulching
Water thoroughly around base of plant allowing it to soak in. Repeat as necessary.
Step 6. Check In
For the next couple weeks, check in and water plant as needed to ensure it stays healthy. Mulch around plant to help retain moisture and reduce weeds.